
Installing Slayte CMS
Getting Slayte CMS running is fast, lightweight, and secure. Just follow the steps below to prepare your database, install the system, and set up your superadmin account.
1. Create a Database
Start by creating a new, empty MySQL database. We recommend using a dedicated database user with restricted permissions for added security.
- Host: typically
localhost - Recommended permissions:
SELECT, INSERT, UPDATE, DELETE, CREATE, INDEX - Save your DB name, username, and password for the next step
2. Purchase & Download
Once you’ve purchased your license from the SlayteCMS website, download the ZIP package containing the full system.
- Unzip the contents into your preferred directory (e.g.
/cms/or root) - Ensure PHP 7.4+ is installed on your server
3. Launch Setup
Visit the folder where you installed Slayte CMS (e.g. https://yoursite.com/my_slayte_folder). The system will automatically detect a new installation and prompt you to configure the following:
- Database credentials (from step 1)
- Site title (you can change this later)
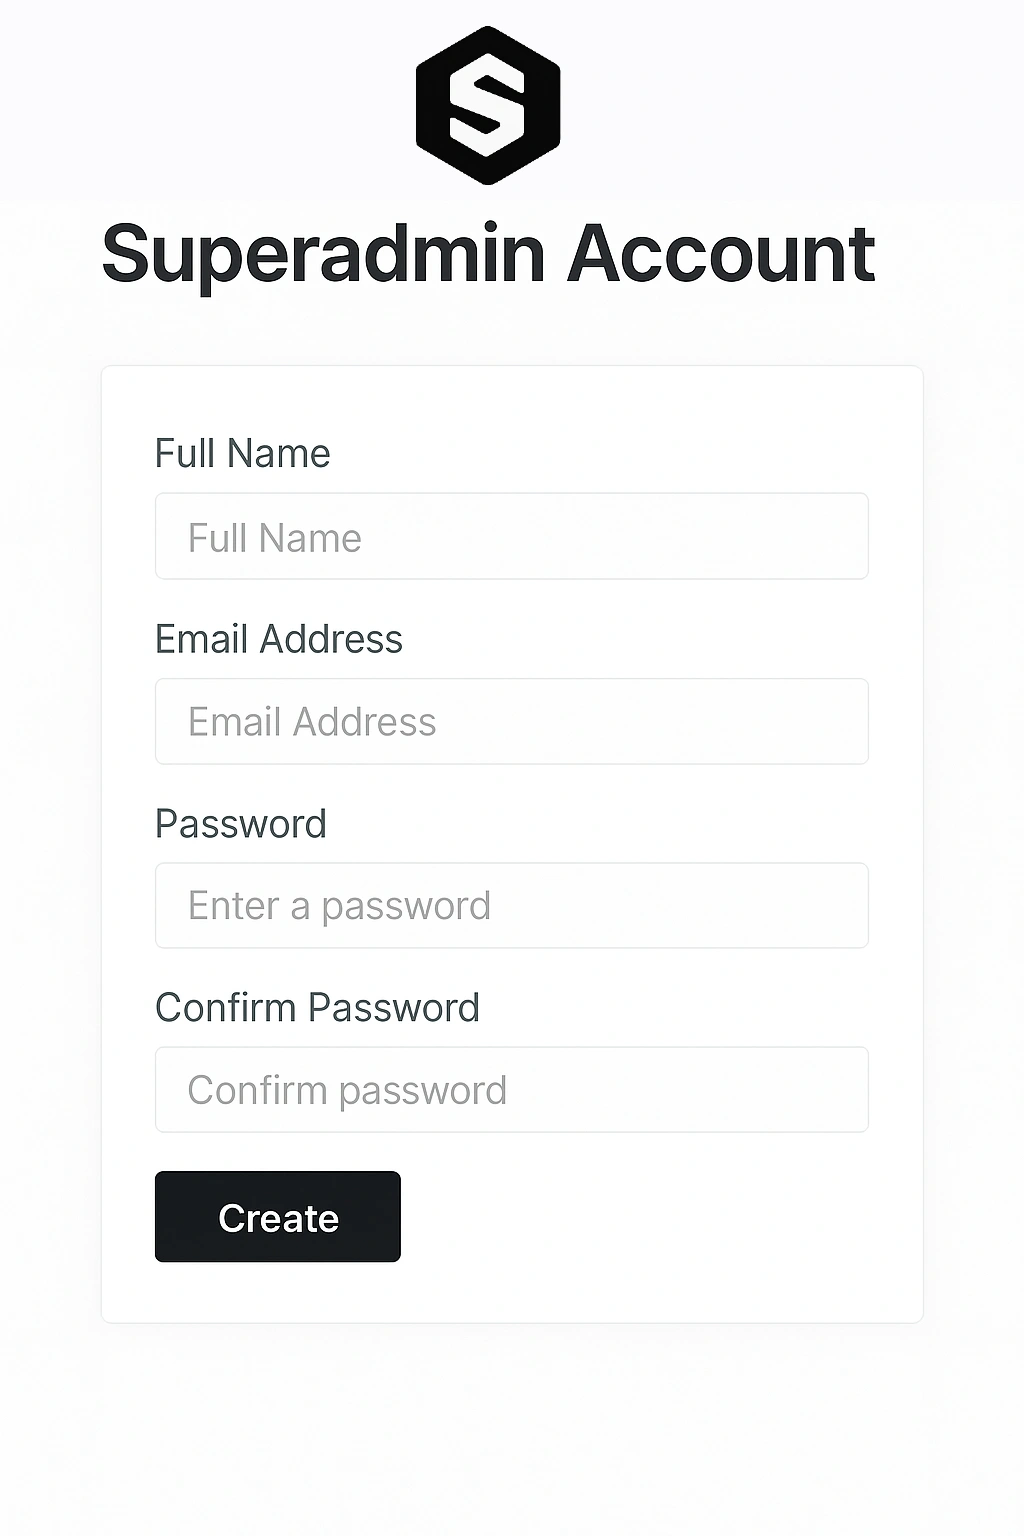
- Create your Superadmin account — this will be your first user and have full permissions
4. First Login
After setup, you'll be redirected to the login page. Log in using your superadmin credentials.
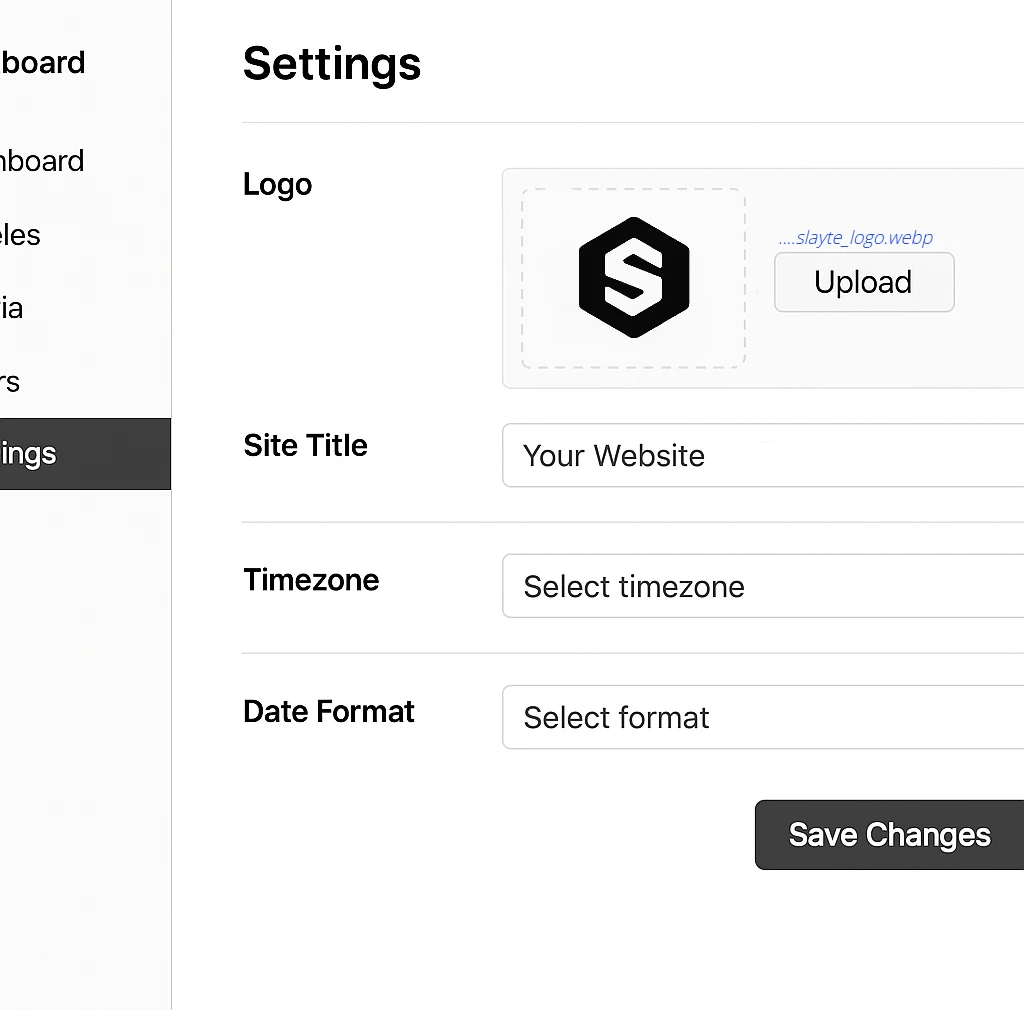
5. Configure System Settings
Once inside the dashboard, start by customizing your environment:
- Upload your logo and brand elements
- Set your default timezone and preferred date format
- Define article categories or tags
- Add any initial users or roles (writer, editor, etc.)
6. You're Ready to Publish
Use the backend dashboard to create your first article, test a layout snippet, and launch your site with full control and no bloat.